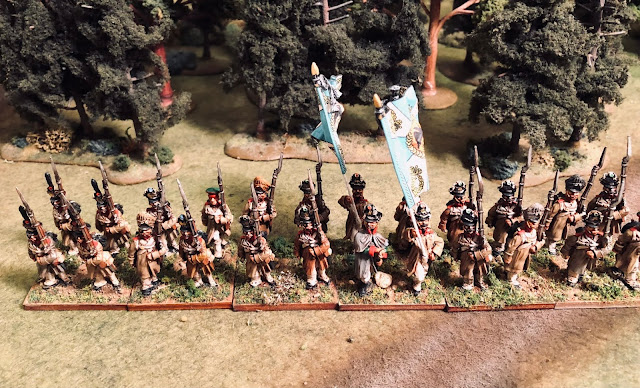
Infantry Battalion - 40mm Square Base
Each infantry battalion is comprised of twenty four figures, with four figures on each of the six 40mm square bases. I tend to have one command base with the flag(s), two "elite" company bases and three center company bases for almost all nations.


Artillery Battery - 60mm by 80mm Rectangle Base


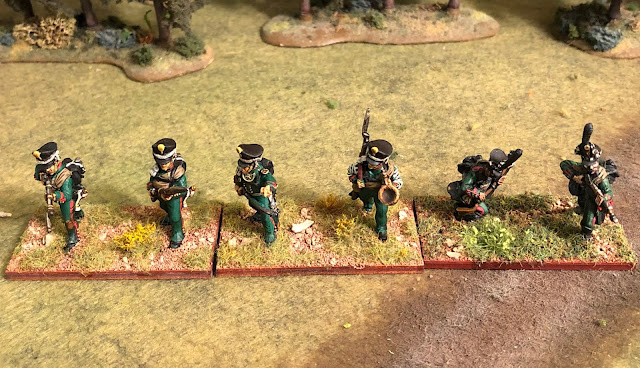
Skirmish Screen - 30mm x 60mm Rectangle Base.


Alternate Basing - It can be time consuming moving six bases and if I had to do it again I might be open to using four bases of six figures instead. You can show most formations normally and it is slightly quickier moving four bases ithan six.
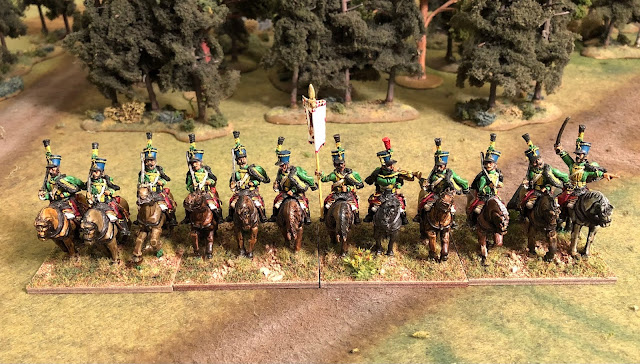
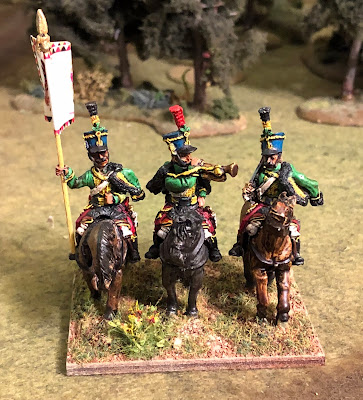
Cavalry Regiment - 50mm x 60mm Rectangle Base
We use twelve figures for each cavalry regiment, with three figures on each of the four 50mm deep by 60mm wide bases. It can be a tight squeeze sometimes but I have not had to adjust the base size to fit a brand of figures yet.


An artillery battery is comprised of two gun models and eight to ten figures on three bases, one of which is a spacer base in between the two gun bases. A single gun and four crew are attached to a 60mm wide by 80mm deep base. For the spacer base, we use zero to three figures, extra equipment and large scenic items added to the same sized base, and is used to increase the width of a deployed battery.


Alternate Basing - well not really alternate base, but I have been thinking about making a left and right gun base and tighten each gun to the appropriate side, perhaps even moving a figure or two from the gun base to the spacer base. The idea is to get the guns a little closer together and add space to the "outside" of each battery. I might try this on the next battery I paint up.
For brigade skirmish screens of two to nine bases, we use two figures on a 30mm deep by 60mm wide base. We also substitute four infantry bases with an equal number of skirmish screen bases to indicated that a light battalion has deployed into skirmish formation.


Alternate Basing - instead of a rectangle base I think I'd base my skirmishers on an oval base. I'd most likely use 35mm by 60mm oval bases (GMB731). The rectangle base seems to "orderly" for skirmishers and an oval base would look more "natural" when bending the skirmish line.
Brigade Leader - 60mm Round base.
Most brigadiers are represented by one mounted figure on a 60mm round base.

Division Leader - 3" Round Base
Divisional or higher level leaders typically have two or more figures on a 3" round base.

Casualties and Disorder Markers
To show if a unit is Disorder we use "wounded" figures mounted on 25mm or 30mm round bases. To mark casualties suffered during the games, we use a 40mm square with a dead figure or horse, with each side being marked from 1 to 4 to show the number of "hits" the unit has suffered.

Alternate Basing - Some of the guys have been using the micro dice holders on the causality bases. They typically use a double d6 "tray" so as to mark 1 to 12 hits per unit. I myself am not super keen on the dice, and have been thinking about making hit markers as above with out the figure and double sided and making a smaller 2nd set to mark hits 9 to 16. I'd also color code the hits number to show the effects of losses for General d'Armee.
Base Summery - Litko 3mm Wood Bases.
Below is the list of bases I use from Litko.
|
Type |
Size |
Litko
Part # |
|
Infantry |
40mm x 40mm |
GMB061 |
|
Cavalry |
50mm x 60mm |
GMB497 |
|
Artillery |
60mm x 80mm |
GMB081 |
|
Skirmish |
30mm x 60mm |
GMB073 |
|
Brigade Leader |
60mm Round |
GMB245 |
|
Division Leader |
3” Round |
GMB605 |
I hope some of you found this helpful.